
Gel Polish for Beginners: The Complete Guide
Three weeks of glossy, chip-free color from one sitting — that's the gel polish promise, and it's real. Here's the complete beginner's map: how it works, how to apply it, and the honest trade-offs the ads skip.
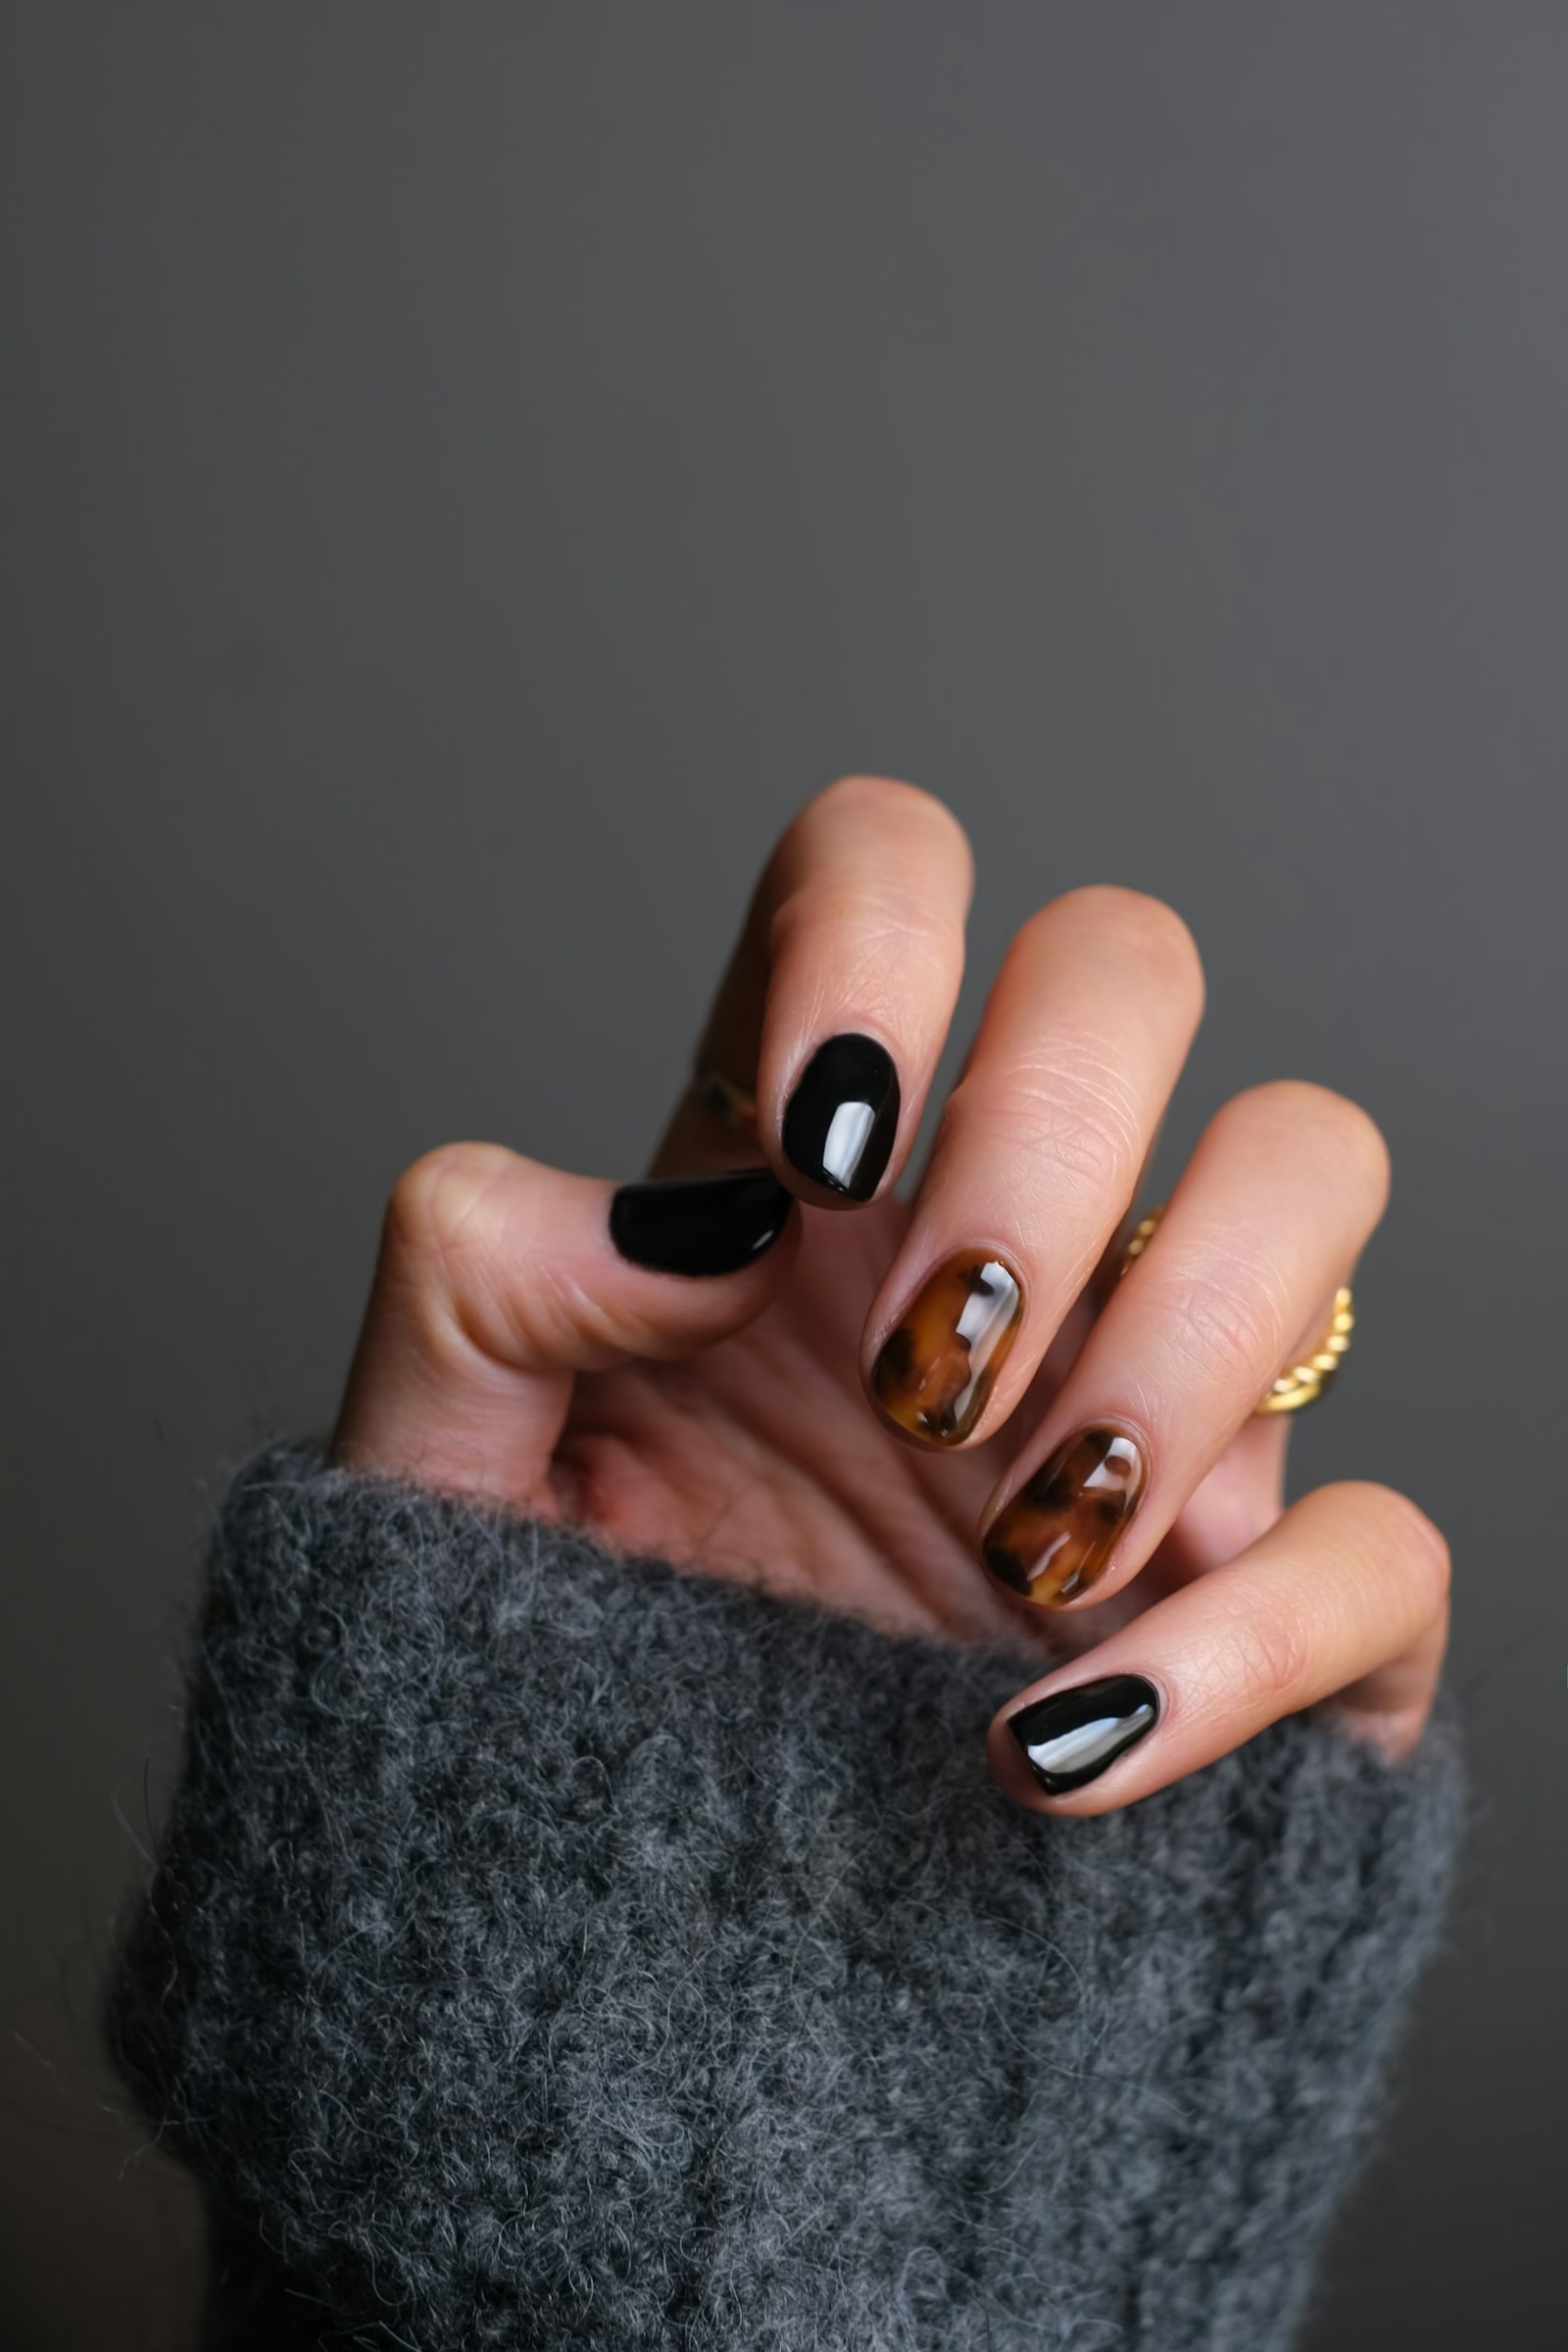
How gel actually works
Regular polish dries by evaporation; gel polish cures — UV/LED light triggers a chemical reaction that hardens the liquid into a solid, glossy shell in 30–60 seconds. No drying time, no smudged pillowcase, and a finish hard enough to survive dishes, keyboards and toddlers.
Your first application, step by step
- Prep — push back cuticles, shape with a file, buff off the shine, swipe with cleanser. Prep is 50% of wear time.
- Base coat, thin as water. Cure 30–60s under your lamp.
- Color, coat one — thin, stopping a hair's width from the cuticle. Cure.
- Color, coat two for full opacity. Cap the free edge. Cure.
- Top coat, cure fully, then wipe the tacky layer with cleanser. Instant rock-hard shine.
First attempt: about an hour. By your fifth: 25 minutes flat.
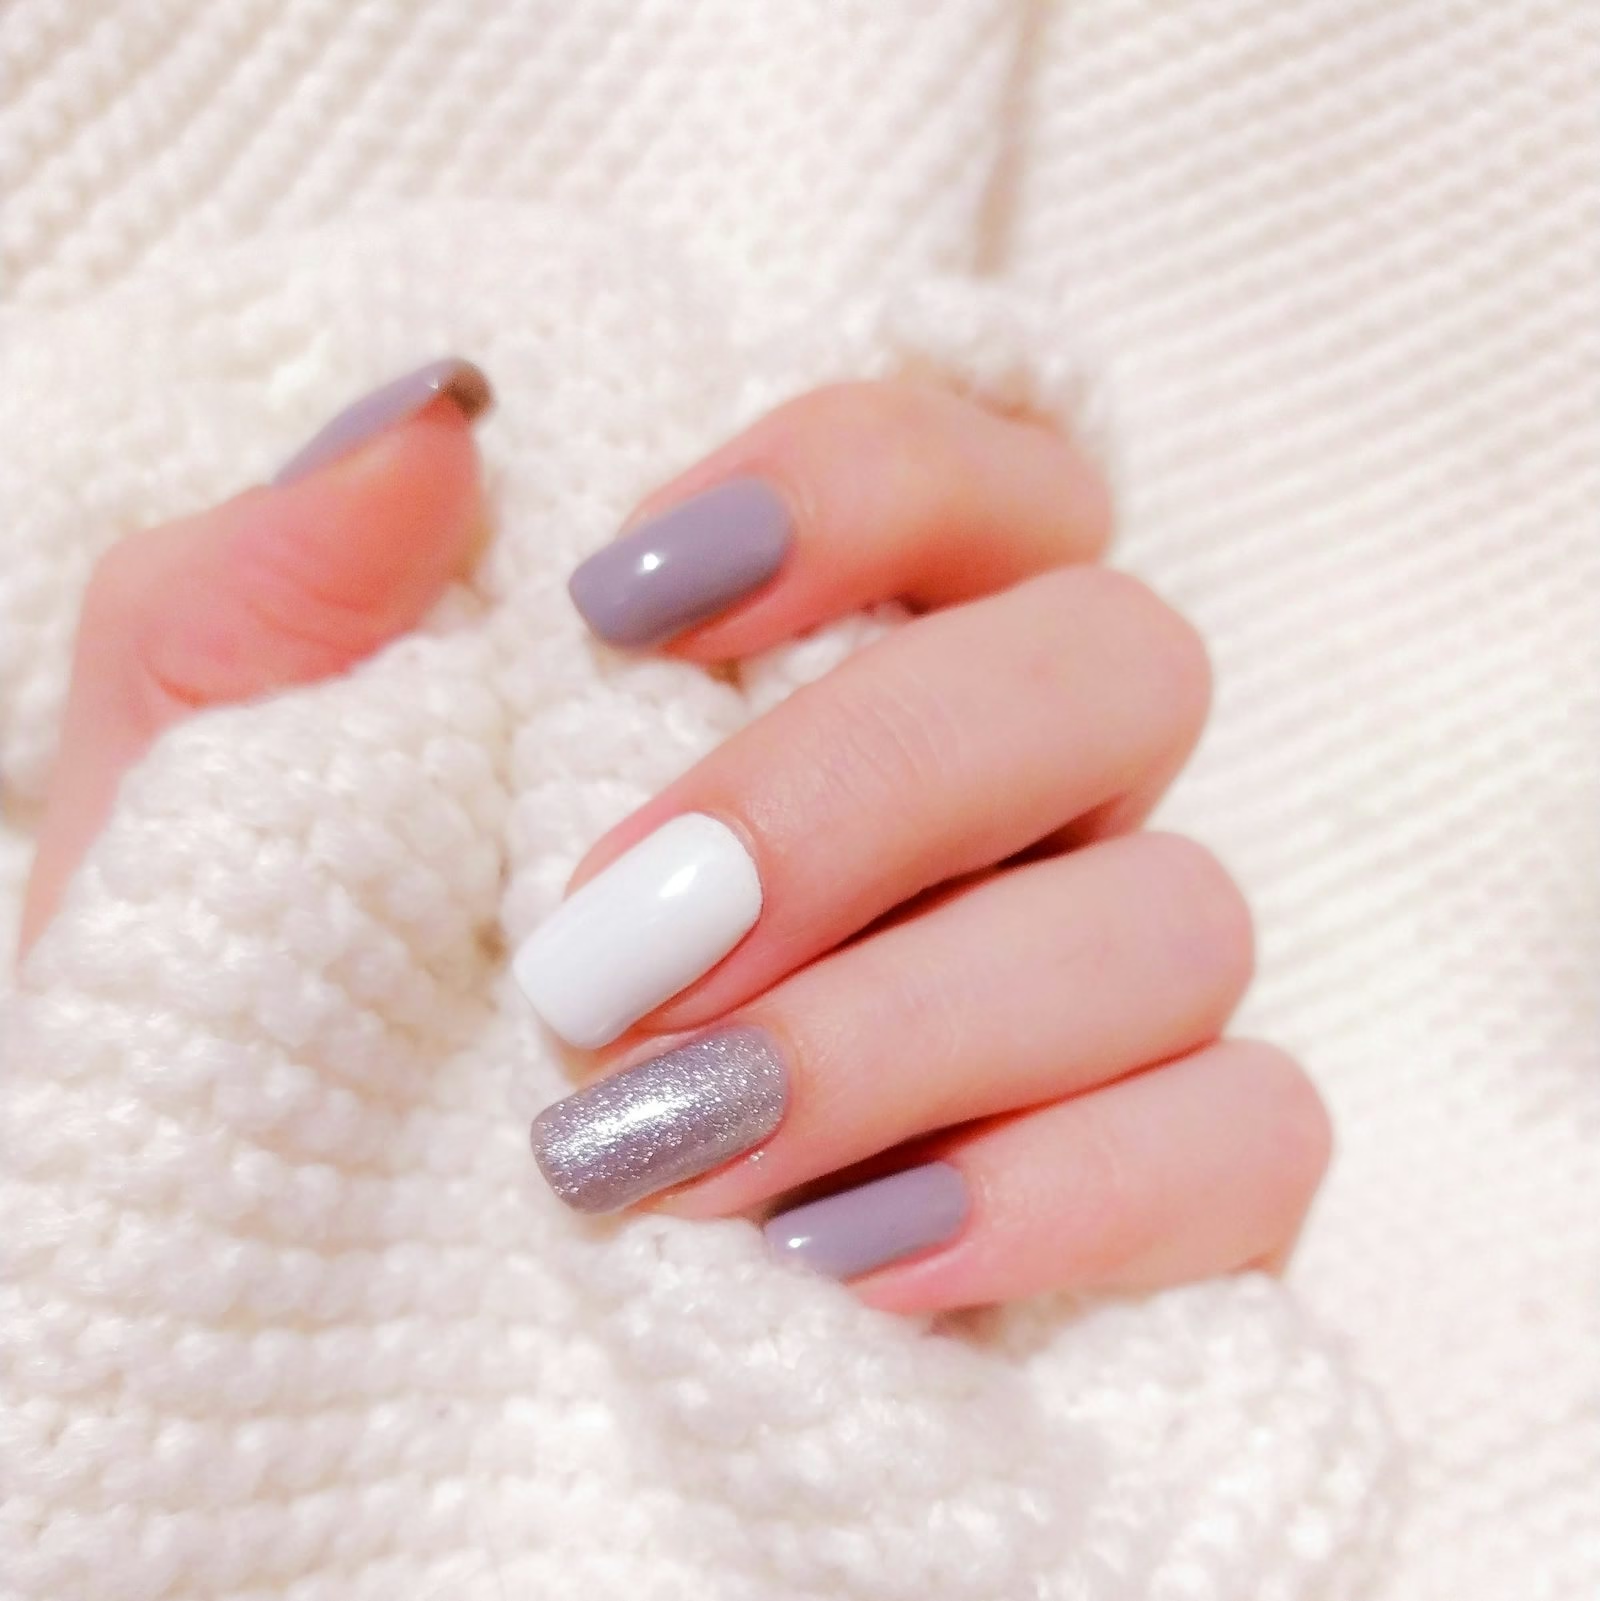
The honest pros and cons
- Pro: 2–3 weeks of perfect gloss; zero drying time; protects weak nails from breaking
- Pro: mistakes are fixable until you cure — beginners' superpower
- Con: removal takes 15 patient minutes (done wrong, it damages nails)
- Con: upfront kit cost (~$50) — though it pays back fast vs. salon visits
- Con: regrowth shows by week three; sheer shades hide it longest
Why gel fails (when it fails)
Three culprits behind virtually every early peel: oil left on the nail (skipped cleanser), coats too thick (the middle never cures), and an underpowered lamp. Fix those and three-week wear is boringly reliable.
Living with gel nails
Oil your cuticles nightly — dry gel edges lift first. Wear gloves for harsh cleaning products. And when regrowth bothers you, resist picking: soak-off, one rest day with oil, reapply.
The takeaway
Gel polish is the single biggest quality-of-life upgrade in home nails. Get a complete starter kit, respect the prep, cure hard, remove gently — and enjoy never touching up a chip on day two again.
Keep reading: choosing your starter kit and safe removal, step by step.