
Glossy Top Coats: The Secret to a Pro-Level Finish
Same polish, same hands — one manicure looks homemade, the other looks like it cost $60. The difference is almost always the top coat. Here's how to choose one that delivers genuine glass-like shine, and how to apply it like a pro.
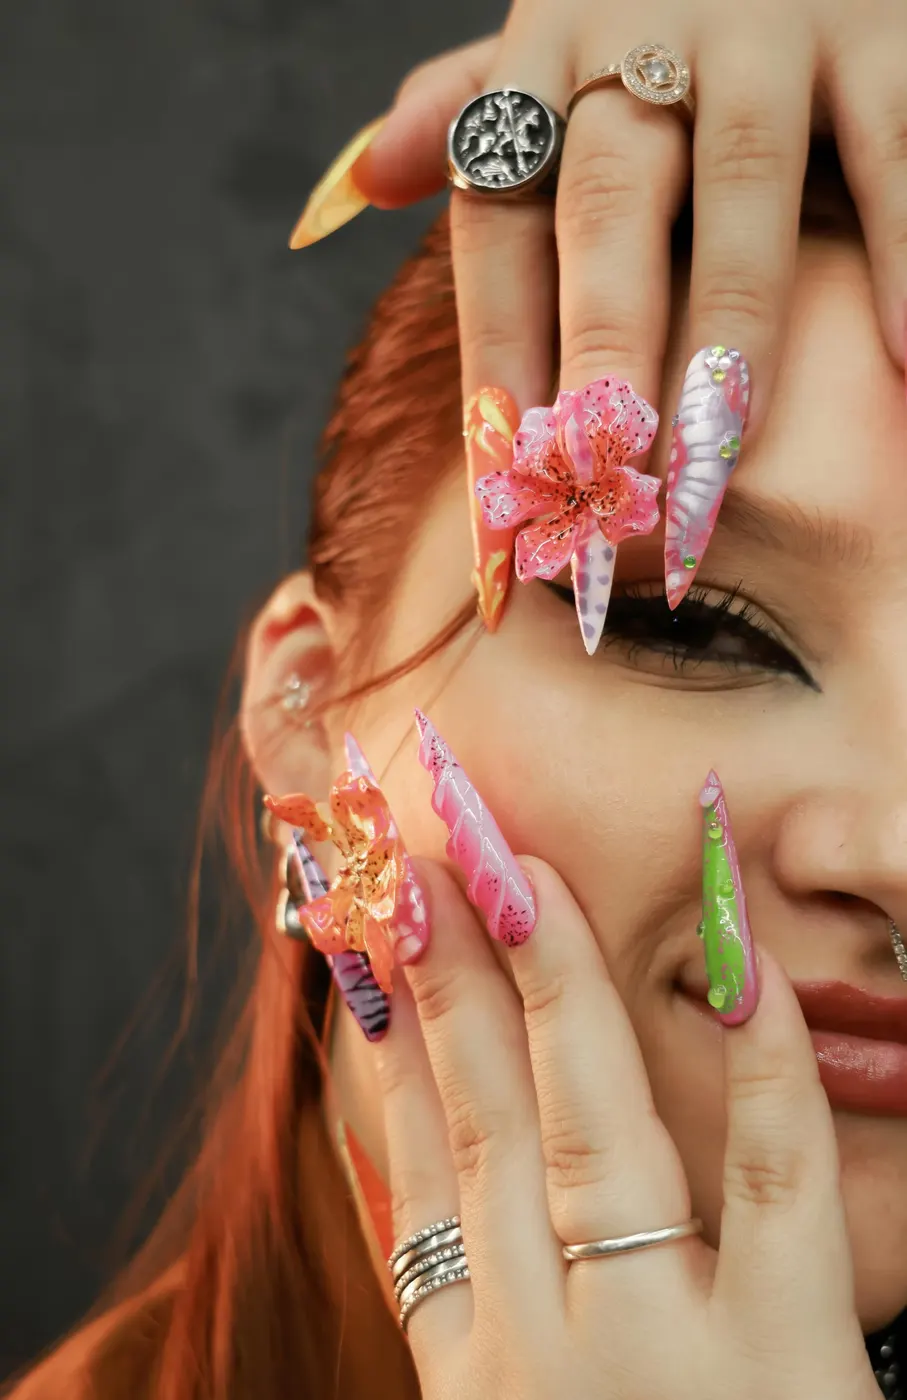
The four top coat types, honestly ranked
- Gel top coat (cured) — the undisputed shine king. Needs a UV/LED lamp, rewards you with 2–3 weeks of wet-look gloss.
- Quick-dry glossy — the everyday hero for regular polish: hard, glassy, dry in 60 seconds. Shine fades gently after ~4 days; reapply to refresh.
- "Gel-effect" (no lamp) — thicker resin mimics gel plumpness. Good gloss, but wear time is closer to lacquer than gel. Fine middle ground.
- Standard clear polish — honestly? Skip it. Neither the shine nor the protection justifies the drying time.
What separates great from gluey
- Self-leveling formula — fills ridges and brush strokes for that poured-glass surface
- Non-yellowing — critical over whites and pale pinks; look for "UV filter" on the label
- Flexible once dry — brittle top coats crack and take the color with them
- A wide, soft brush — one-swipe coverage means no drag marks
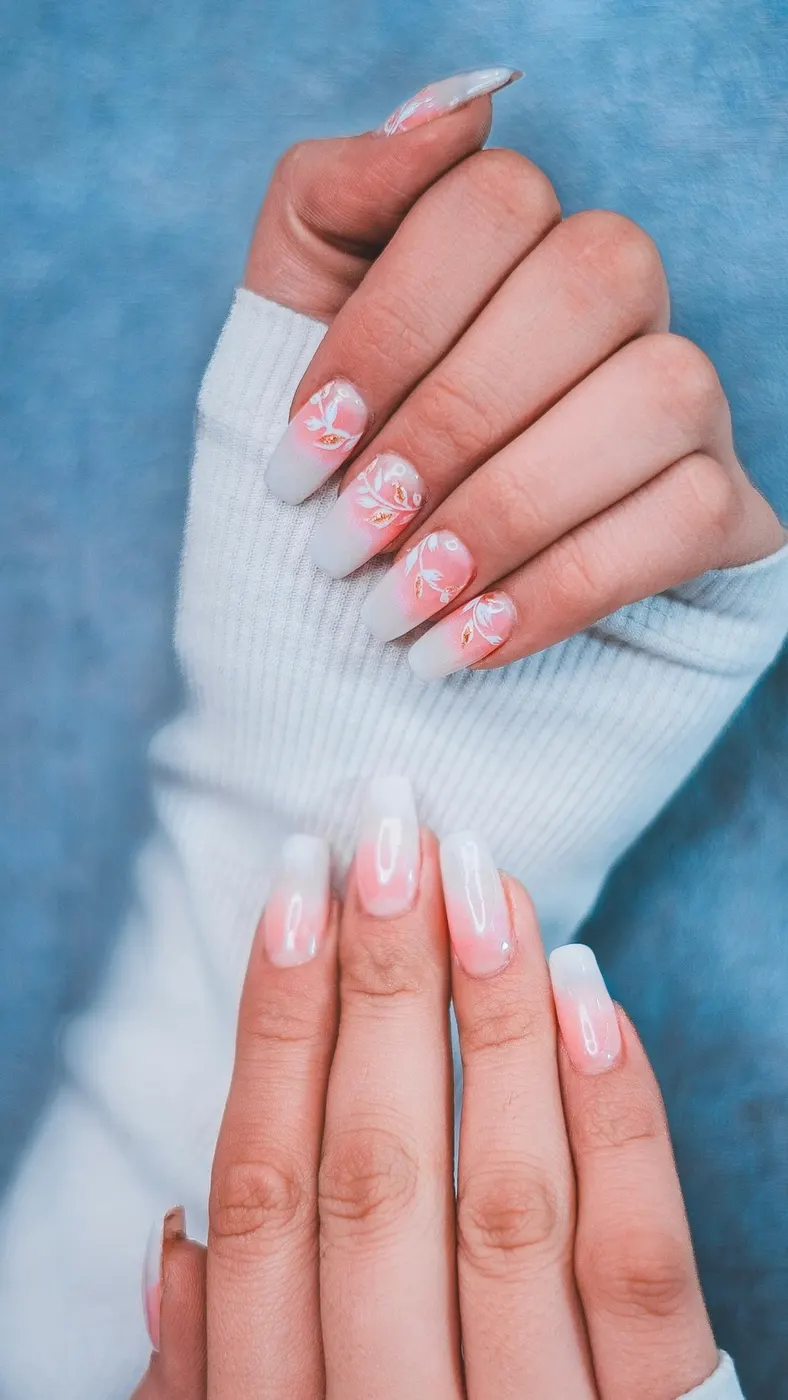
Pro application tricks
- Wait 2 minutes after your color coat (lacquer) — top coat over wet polish causes smudging and bubbles
- Float, don't press: let the brush glide on a cushion of product
- Cap the free edge — the tip is where shine (and polish) dies first
- Refresh every 3 days: 60 seconds that doubles your manicure's lifespan
- Matte lovers: apply glossy first for protection, matte on top — you can buff back to gloss anytime
Our verdict
For lamp owners, a gel top coat is untouchable. For everyone else, a quality quick-dry glossy — reapplied twice a week — gets you 90% of the way to that salon-glass finish for a fraction of the effort.
Keep reading: long-lasting polish that actually lasts and our best manicure tips.