
Freehand Nail Art for Beginners: Start Here
"I could never — my hands shake." Every nail artist said that once. Freehand nail art isn't about a surgeon's hands; it's about brush control, smart bracing, and designs that flatter wobbles instead of exposing them. Here's your starting line.
The setup that stops shaky lines
- Brace both hands: elbows on the table, pinky of your painting hand resting on the working hand. Lines come from finger movement, not arm movement.
- Good light matters more than good brushes — a daylight lamp removes the squint-wobble
- Thin your polish or use art gel: dragging thick product is what makes lines shake
- A small liner and detail brush are the only two tools you need to start
The 5 easiest first designs
1. Dots (day one)
A bobby pin or dotting tool, five colors, endless layouts — polka trios, cuticle crescents, gradient dots. Impossible to get wrong.
2. Minimal line art
One curved line across a nude nail. Abstract by design — a wobble reads as intentional. This is the trend that forgives everything.
3. Tiny hearts
Two dots dragged to a point. Practice five on paper, then commit. Instant coquette energy.
4. Daisy florals
Five white dots around a yellow center. Cluster two or three per accent nail — the wobblier, the more hand-painted charm.
5. Abstract color blocking
Overlapping arcs of 2–3 colors, gaps left bare. Looks gallery-modern, requires zero precision.
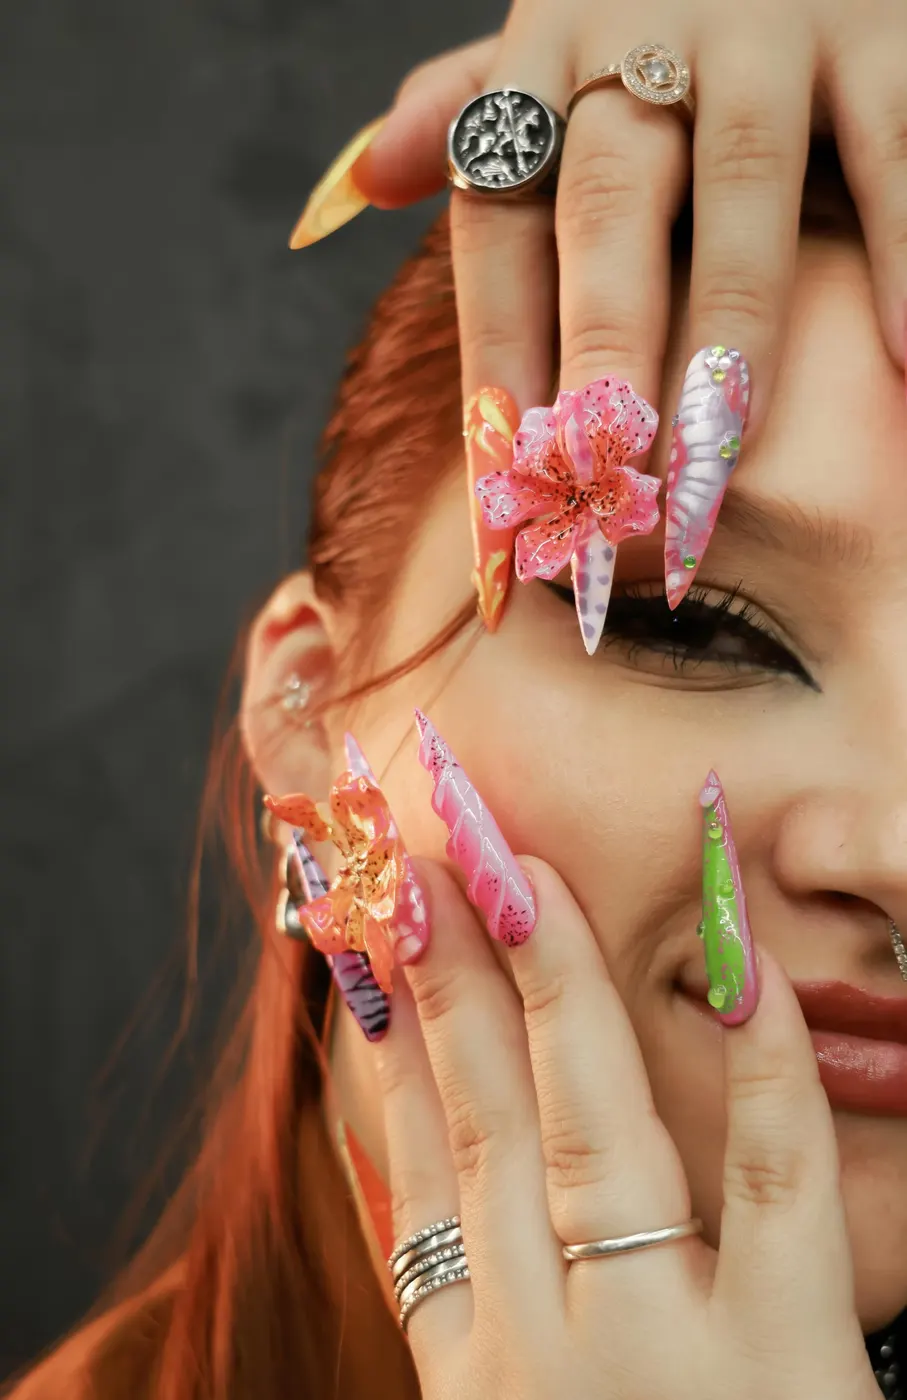
The practice method that actually works
- Paper first: ten minutes of lines, curves and dots to warm up the motion
- Then a practice surface: a practice hand or tips glued to a stick — real curvature, zero pressure
- Gel = undo button: wipe mistakes until you cure — beginners' best friend
- One design per week, ten repetitions. Progress is embarrassingly fast.
The takeaway
Brace your hands, thin your product, start with dots, and let gel give you infinite retries. In a month you'll be freehanding florals you'd have called impossible today.
Keep reading: choosing nail art brushes and nail art ideas to copy.